Push Notification in Android vs IOS
Generally, a few years before developers used GCM (Google Cloud Messaging) to Send Push Notification to Android and iOS Apps Using PHP and Firebase, GCM was released...
By Admin
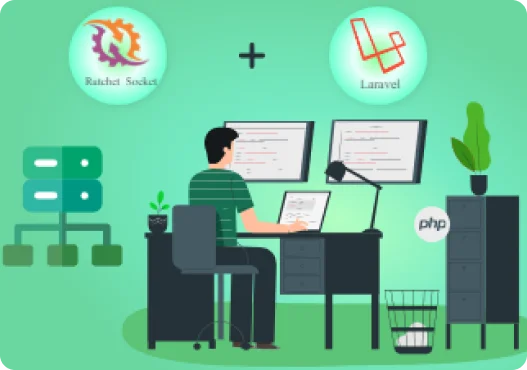
Sockets are mainly used interaction between client and server,or we can also say that socket is technology by which we use tointeraction between multiple users on same or different machines.
We can use ratchet socket in Laravel 8 using "gruz/laravel-ratchet" library. It is perfectly compatible with Laravel 8 versions.to install this library we need Laravel framework with 8version and PHP greater than or equal to 7.2v.it also demand for ext-zmq* which is installed on our server.
To start installation, we need to run the following command:
$ composer require gruz/laravel-ratchet.
After this command you will receive a success message in your terminal which means you have successfully installed the library. After that you must publish the vendor files so that you can configure your server. To publish your vendor files, you need to run the following command:
$ php artisan vendor:publish --provider="Askedio\
LaravelRatchet\Providers\
LaravelRatchetServiceProvider"
This command will also return a success message in terminal which means you have published your vendor files.
Now, it has almost done. You have successfully installed ratchetsocket with Laravel version 8. To verify that you need to run the following command:
$ php artisan ratchet:serve --driver=WsServer
This command will return your IP and port number on which your socket is running currently. Mostly It will return 8080 port number because by default socket will run over 8080 Port. You can see example in image where my port is 8081.
This installation will create ratchet.php file which will be in config/ ratchet.php in your project. Where you can change your port number to run socket. By default, your code will be run from src/Examples/Pusher.php.
But you can also set your default controller class from your config/ ratchet.php file. You can also see the example in image below:
config/ ratchet.php
You can set custom controller class and port like given exampleabove. You do not need to change host and port of zmq. You need to keep this as it is.
Now its all set you can test your socket with following code run in console of your browser.
var conn = new WebSocket('ws://Your_IP_Address:8081');
conn.onopen = function(e) {
console.log ("Connectionestablished!");
};
After running this code if you will get response like following image:
This means you have successfully made connection with socket. Now you can set your code in your controller class according to your requirements.
Generally, a few years before developers used GCM (Google Cloud Messaging) to Send Push Notification to Android and iOS Apps Using PHP and Firebase, GCM was released...

No one will buy anything from you if they do not trust you. This is a challenge, especially for beginning entrepreneurs who are building their brand, so to speak, from scratch...
Hold down your phone's power button to see a new expanded page of commands. Now you can dial 911, shut down or restart your phone, along with access to Google...
Bootstrap is a free and open source front end development framework for the creation of websites and web apps.In computers, the word bootstrap means to boot: to load a...

HTML is that the foundation of all net pages. It defines the structure of a page, whereas CSS defines its style. HyperText Mark-Up Language and CSS are the start of everything you...
Explore your potential and begin your journey today.


