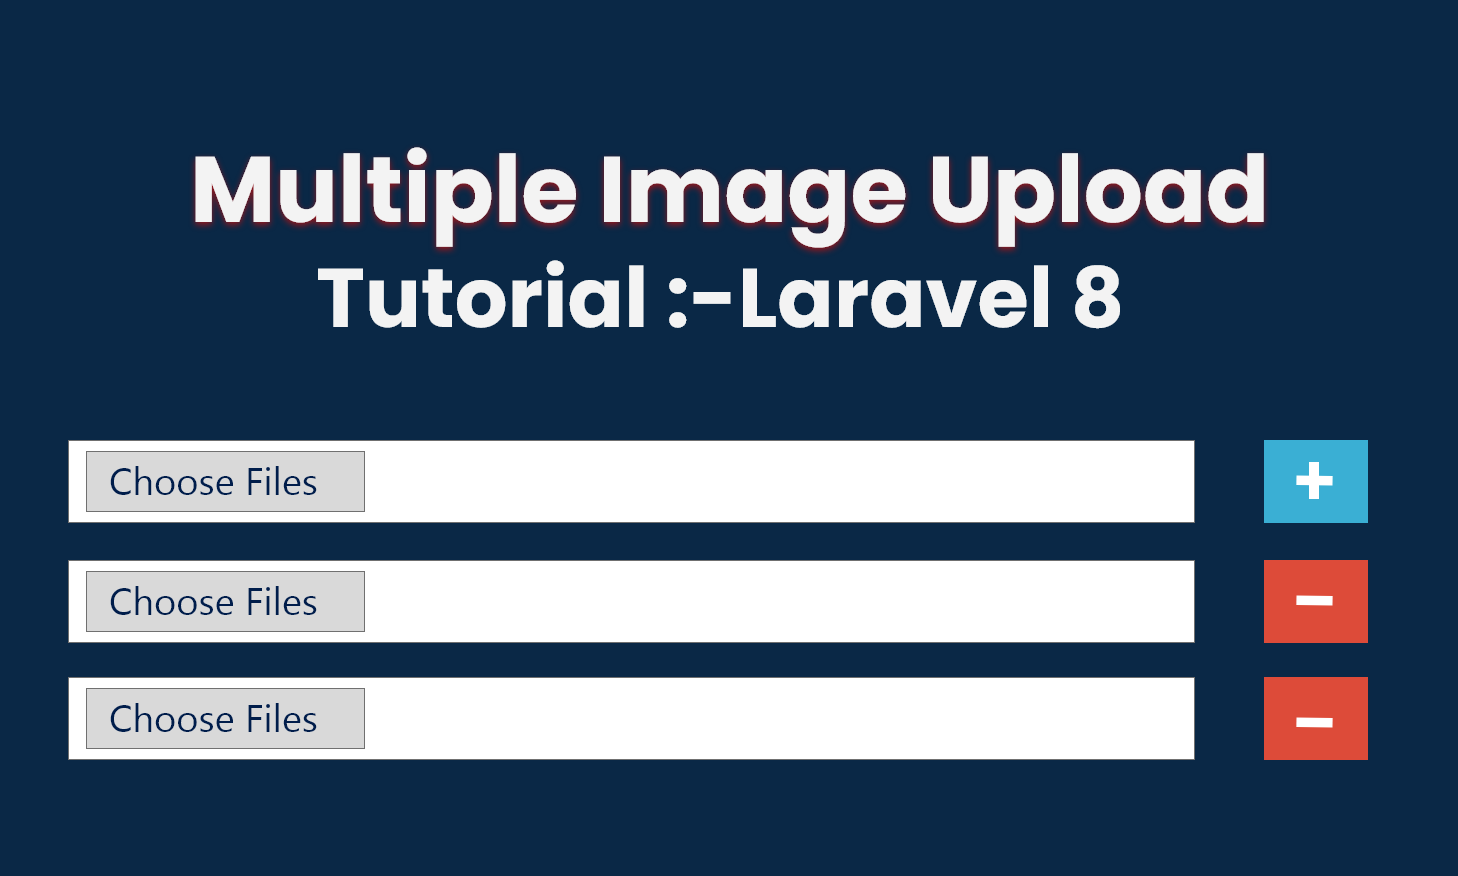
Multiple Image Upload Tutorial :-Laravel 8
Step 1: Download Laravel 8
In the first step, we will download a new source code of Laravel Application project by following command.
composer create-project --prefer-dist laravel/laravel multi-image-upload
Step 2: Add Migration and Model
Here, we need create database migration for images table and we will also create model for images table.
php artisan make:migration create_ images _table
Migration:-
                ?php
                use Illuminate\Support\Facades\Schema;
                use Illuminate\Database\Schema\Blueprint;
                use Illuminate\Database\Migrations\Migration;
                class CreateFormsTable extends Migration
                {
                    public function up()
                    {
                    Schema::create('images', function (Blueprint $table) {
                            $table->increments('id');
                            $table->string('image);
                            $table->timestamps();
                        });
                    }

                    public function down()
                    {
                        Schema::dropIfExists(' images ');
                    }
                }
After This Run Following Command:-
PHP artisan migrate
Now create Image model by using following command:
php artisan make:model Image
Step 3: Create Controller
Now we require to add new MultipleImageController controller for manage route So let's create MultipleImageController with create and store method
app/Http/Controllers/MultipleImageController.php
                ?php
                namespace App\Http\Controllers;
                use Illuminate\Http\Request;
                class MultipleImageController extends Controller
                {
                    /**
                * Show the application dashboard.
                *
                * @return \Illuminate\Http\Response
                */
                public function create()
                {
                    return view('create');
                }

                /**
                * Show the application dashboard.
                *
                * @return \Illuminate\Http\Response
                */
                public function store(Request $request)
                {

                    $this->validate($request, [
                        'image' => 'required',
                    ]);

                    if($request->hasfile('image'))
                    {
                        foreach($request->file('image') as $file)
                        {
                    $imageName = $image->getClientOriginalName();
                $image->move( public_path().'/image/', $imageName );
                        $model = new Image();
                            $model->image = $imageName;
                            $model->save();
        return back()->with('success', 'Data Your files has been successfully added');
            }
            }
            }
            }
Step 4: Create Blade File
                    <html lang="en">
                    <head>
                    <title>Laravel 6 Multiple File Upload Laravel8</title>
                    </head>
                    <body>

                <div class="container lst">
            @if (count($errors) > 0)
            <div class="alert alert-danger">
            <strong>Sorry!</strong> There were more problems with your HTML input.<br><br>
            <ul>
                @foreach ($errors->all() as $error)
                <li>{{ $error }}</li>
                @endforeach
                </ul>
                </div>
            @endif

            @if(session('success'))
            <div class="alert alert-success">
            {{ session('success') }}
            </div>
            @endif
            <h3 class="well">Laravel 6 Multiple File Upload</h3>
            <form method="post" action="{{url('image')}}" enctype="multipart/form-data">
            {{csrf_field()}}
            <div class="input-group hdtuto control-group lst increment" >
            <input type="file" name="image[]" class="myfrm form-control">
            <div class="input-group-btn">
            <button class="btn btn-success" type="button"><i class="fldemo glyphicon glyphicon-plus"></i>Add</button>
            </div>
            </div>
            <div class="clone hide">
            <div class="hdtuto control-group lst input-group" style="margin-top:10px">
            <input type="file" name="image[]" class="myfrm form-control">
            <div class="input-group-btn">
            <button class="btn btn-danger" type="button"><i class="fldemo glyphicon glyphicon-remove"></i> Remove</button>
            </div>
            </div>
            </div>
            <button type="submit" class="btn btn-success" style="margin-top:10px">Submit</button>
            </form>
Step 5: Create Routes In Your web.php
In this step, we will create routes for multiple image upload. so create two route with GET and POST route example.
routes/web.php
            Route::get('image','MultipleImageUploadController@create');
            Route::post('image','MultipleImageUploadController@store');

 Comments (5)


