Install Wordpress on localhost using XAMPP
To install WordPress locally, we need just XAMPP software and WordPress files.
What is localhost?
In a computer network, localhost means 'this computer'. The computer you are currently using. That said, we want to install WordPress on localhost. Then, this means we want to install WordPress on our local Computer.
That is, your website is hosted on your computer or laptop. And not on a hosting server located anywhere in the world.
There are many benefits to installing WordPress in your localhost. For example, you can install WordPress on your local computer and test them before installing them live, you can check WordPress bugs and configure the website without damaging the actual site.
Considering we use localhost for checking out purposes. And for you, there are numerous hosting groups within the global that provide WordPress website hosting. So, let’s go ahead.
What is XAMPP?
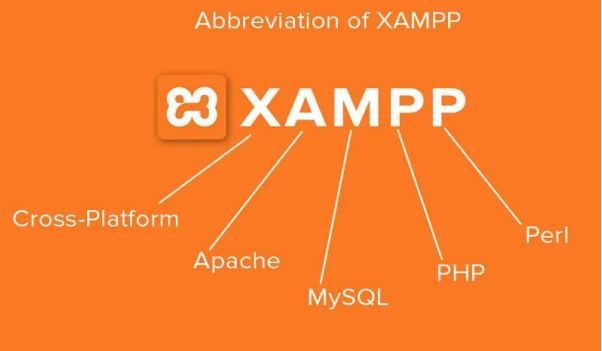
It is a free and open source platform. It was founded by friends of Apache Friends. XAMPP stands for cross-platform, Apache, MySQL, Hypertext Preprocessor, and Perl
There are many benefits to using XAMPP. But the biggest advantage is that it works on any system (Windows or Mac or Linux).You can use XAMPP easily and for free. Time to learn to install WordPress on XAMPP.
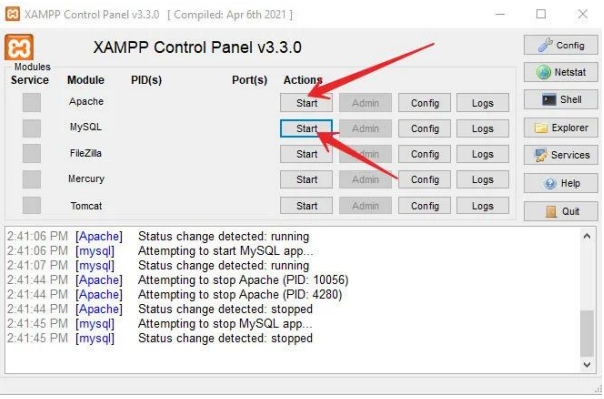
Launch XAMPP on your PC. Now, Run Apache and MySQL servers to install WordPress Just click the start button next to Apache and MySQL to use it.
Download and Install Wordpress
Download Latest Version of WordPress Online To do this, you must go to WordPress.org website to Download WordPress. Open the link, scroll down the page, and click the WordPress download button as shown in the image below.

After the download is complete, WordPress will be in the zip file. So go get it out of your pc
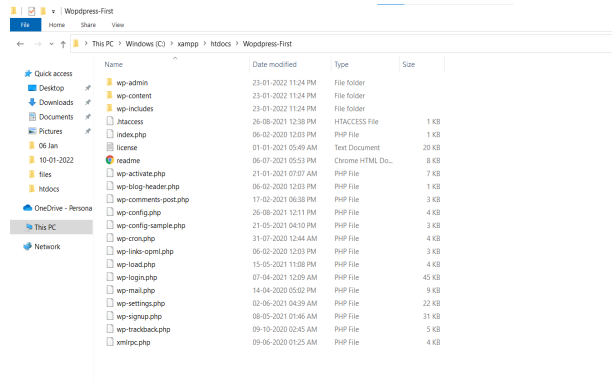
Create Folder In the XAMPP htdocs Folder to Upload WordPress Files After extracting, open the WordPress folder. Then copy all WordPress files. Now, go to the XAMPP folder and find the htdocs folder and open that folder.
Create a new folder with any name you want to use as the name of your website in that folder. Then open that folder and paste all the WordPress files you have already copied.
In my case, I created a folder with the word wordpress-first. Then paste all the WordPress files into that. As you can see below.
Access WordPress files in Your Browser
Now, we have uploaded the WordPress files to the XAMPP local server. Time to access WordPress in our browser to install and configure.
In this case, open your browser and type in localhost/wordpress-first. After typing that during your browser, it will take you to the WordPress configuration web page. Just select a language and click the continue button. As shown in the picture below.
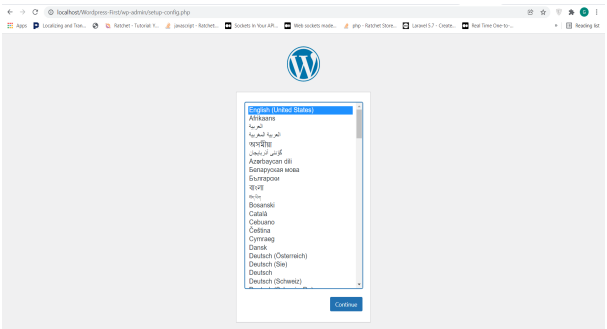
Just make sure Apache and MySQL are running on XAMPP otherwise the page above will show an error. Now, let's move on.
After clicking the continue button.Now, You can see that in order to install WordPress on localhost, we need a website.
Now, we need to create a database where all WordPress data will be stored. And there, we will find these details. Then we will add that to the WordPress configuration page to complete the WordPress installation.
Now, open a new tab in your browser and type in localhost / PHPMyAdmin. This will take us to a place where we will create a new website.
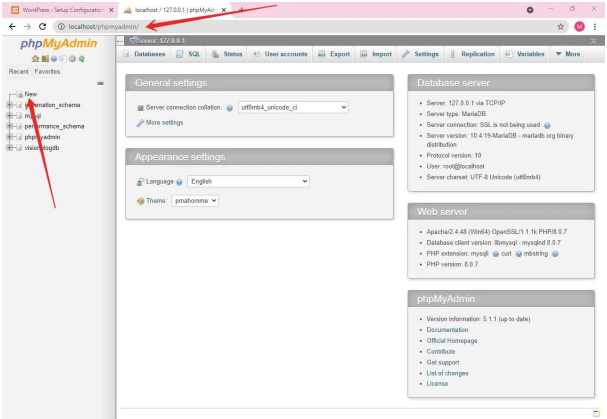
Now, click New to create a new DB as shown in the image above. Next, type in the name of your db as testdb and click create.
Now, enter DB name (created above db), username as root, password (keep blank), and hostname as localhost. Then click the Submit button.
Then Click Start Installation. Here it is. You will enter details of your new website here. Site title, username, password, and valid email and click install WordPress.
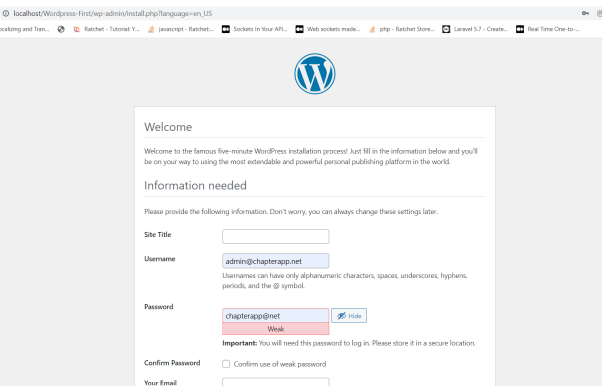
Remember your username and password because you will need that to log into the WordPress website. WordPress will install in a minute. Then click the login button. Then, enter your login details and after that click on the login button. After clicking login, it will take you to the WordPress dashboard.
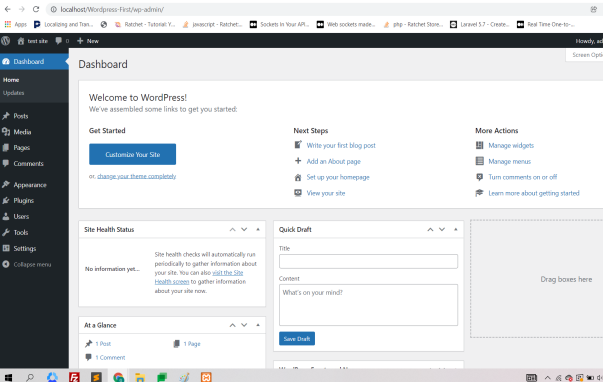
Congratulations! We installed WordPress on localhost.
In the WordPress site, click the name of your site to go to the site. In my article, I created this site with the name of the Test Site. So, I clicked on that. As shown in the picture below
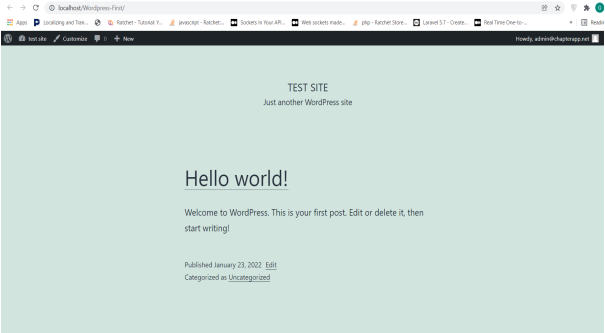
By default, WordPress uses the 2021 theme. All Done! Congratulations on what you did. We have now successfully installed WordPress on localhost. Now, you can customize your website.

 Comments (5)


